Generic Unix
Introduction
This chapter provides additional information for installing OMNeT++ on Unix-like operating systems not specifically covered by this Installation Guide. The list includes FreeBSD, Solaris, and Linux distributions not covered in other chapters.
Note
In addition to Windows and macOS, the Simulation IDE will only work on Linux x86/arm 64-bit platforms. Other operating systems (FreeBSD, Solaris, etc.) and architectures may still be used as simulation platforms, without the IDE.
Dependencies
The following packages are required for OMNeT++ to work:
build-essential, GNU make, gcc, g++, bison (3.0+), flex, perl, python3-devel, xdg-utils
These packages are needed for compiling OMNeT++ and simulation models, and also for certain OMNeT++ tools to work.
It is also recommended to install the clang and lld package as they provide faster compilation and linking.
Note
You may opt to use gcc instead of the clang compiler and/or use the system default linker instead of lld by setting
the PREFER_CLANG and PREFER_LLD variables in the configure.user file. If you do not need the 3D
visualization capabilities, you can disable them in the configure.user file, too.
Warning
The IDE requires GLIBC 2.28 version or later, so you will need at least Debian 10, RedHat 8 or Ubuntu 18.10 to run the IDE.
The following packages are strongly recommended, because their absence results in severe feature loss:
- Qt 5.9 or later
Required by the Qtenv simulation runtime environment. You need the devel packages that include header files as well.
- OpenSceneGraph (3.4+) and osgEarth (2.9+)
These packages will enable 3D visualization in Qtenv. You need the devel packages that include header files as well.
The following packages are required if you want to take advantage of some advanced OMNeT++ features:
- LibXML2
LibXML2 is needed for OMNeT++ to be able to DTD validate an XML file. The devel packages (that include the header files) are needed.
- GraphViz, Doxygen
These packages are used by the NED documentation generation feature of the IDE. When they are missing, documentation will have less content.
- MPI
openmpi or some other MPI implementation is required to support parallel simulation execution.
- Akaroa
Implements Multiple Replications In Parallel (MRIP). Akaroa can be downloaded from the project’s website.
The exact names of these packages may differ across distributions.
Determining Package Names
If you have a distro unrelated to the ones covered in this Installation Guide, you need to figure out what is the established way of installing packages on your system, and what are the names of the packages you need.
Qt
If your platform does not have suitable Qt packages, you may still use OMNeT++ to run simulations from the command line. To disable the Qtenv runtime environment, use:
$ ./configure WITH_QTENV=no
This will prevent the build system to link with Qt libraries. It is also recommended if you are installing OMNeT++ from a remote terminal session.
MPI
OMNeT++ is not sensitive to the particular MPI implementation. You may use OpenMPI, or any other standards-compliant MPI package.
Downloading and Unpacking
Download OMNeT++ from https://omnetpp.org. Make sure you select to download
the generic archive, omnetpp-6.4-core.tgz.
Copy the archive to the directory where you want to install it. This is usually your home directory, /home/<you>.
Open a terminal, and extract the archive using the following command:
$ tar xvfz omnetpp-6.4-core.tgz
This will create an omnetpp-6.4 subdirectory with the OMNeT++ files in it.
Environment Variables
In general OMNeT++ requires that certain environment variables are set and the
omnetpp-6.4/bin directory is in the PATH. Source the setenv
script to set up all these variables.
$ cd omnetpp-6.4
$ source setenv
To set the environment variables permanently, edit .profile or .zprofile in your home directory and
add a line something like this:
[ -f "$HOME/omnetpp-6.4/setenv" ] && source "$HOME/omnetpp-6.4/setenv"
Note
The setenv script requires Bash or Zsh.
Configuring and Building OMNeT++
In the top-level OMNeT++ directory, type:
$ ./configure
The configure script detects installed software and configuration of your system. It writes the results into the
Makefile.inc file, which will be read by the makefiles during the build process.
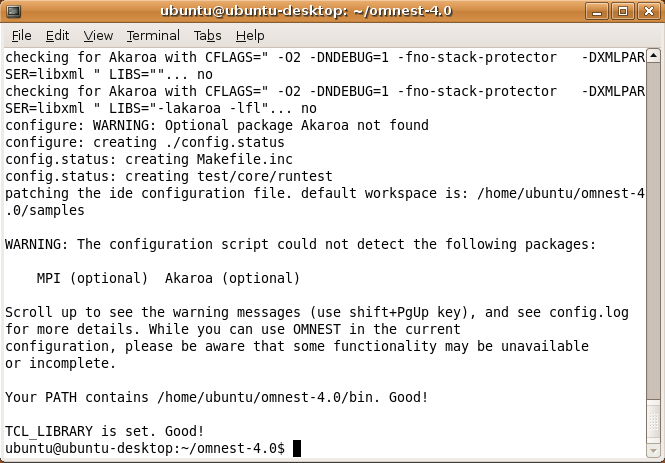
Fig. 6 Configuring OMNeT++
Note
If there is an error during configure, the output may give hints about what went wrong. Scroll up to see the
messages. (Use Shift+PgUp; you may need to increase the scrollback buffer size of the terminal and re-run
./configure.) The script also writes a very detailed log of its operation into config.log to help track down
errors. Since config.log is very long, it is recommended that you open it in an editor and search for phrases
like error or the name of the package associated with the problem.
The configure script tries to build and run small test programs that are using specific libraries or features of
the system. You can check the config.log file to see which test program has failed and why. In most cases the
problem is that the script cannot figure out the location of a specific library. Specifying the include file or
library location in the configure.user file and then re-running the configure script usually solves the
problem.
When ./configure has finished, you can compile OMNeT++. Type in the terminal:
$ make
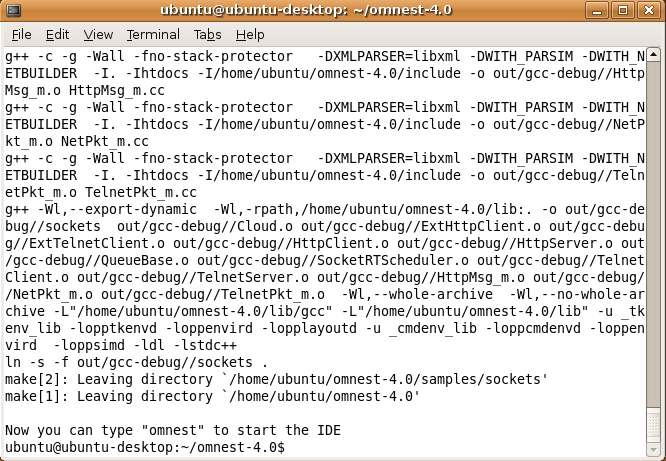
Fig. 7 Building OMNeT++
Tip
To take advantage of multiple processor cores, add the -j8 option (for 8 cores) to the make command line.
Note
The build process will not write anything outside its directory, so no special privileges are needed.
Tip
The make command will seemingly compile everything twice. This is because both debug and optimized versions of the
libraries are built. If you only want to build one set of the libraries, specify MODE=debug or MODE=release:
Verifying the Installation
You can now verify that the sample simulations run correctly. For example, the aloha simulation is started by entering the following commands:
$ cd samples/aloha
$ ./aloha
By default, the samples will run using the Qtenv environment. You should see nice gui windows and dialogs.
Starting the IDE
Note
The IDE is supported only on 64-bit versions of Windows, macOS and Linux.
You can run the IDE by typing the following command in the terminal:
$ omnetpp
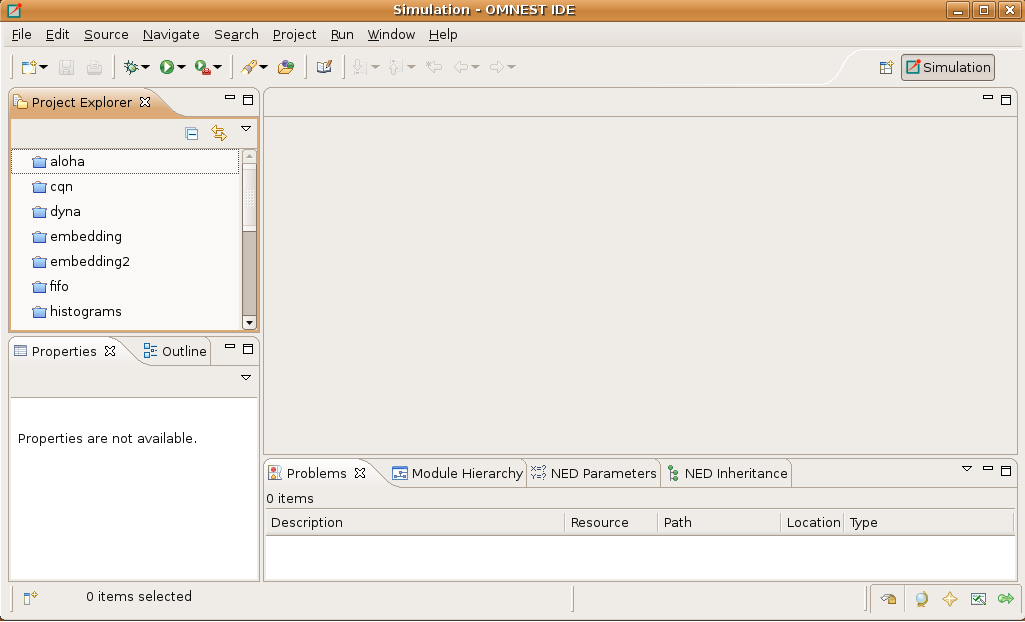
Fig. 8 The Simulation IDE
If you would like to be able to access the IDE from the application launcher or via a desktop shortcut, run one or both of the commands below:
$ make install-menu-item
$ make install-desktop-icon
Note
The above commands assume that your system has the xdg commands, which most modern distributions do.
Optional Packages
Akaroa
If you wish to use Akaroa, it must be downloaded, compiled, and installed manually before installing OMNeT++.
Note
As of version 2.7.9, Akaroa only supports Linux and Solaris.
Download Akaroa 2.7.9 from: http://www.cosc.canterbury.ac.nz/research/RG/net_sim/simulation_group/akaroa/download.chtml
Extract it into a temporary directory:
$ tar xfz akaroa-2.7.9.tar.gz
Configure, build and install the Akaroa library. By default, it will be installed into the /usr/local/akaroa
directory.
$ ./configure
$ make
$ sudo make install
Go to the OMNeT++ directory, and (re-)run the configure script. Akaroa will be automatically detected if you
installed it to the default location.