Ubuntu
Supported Releases
This chapter provides additional information for installing OMNeT++ on Ubuntu Linux installations. The overall installation procedure is described in the Linux chapter.
The following Ubuntu releases are known to work (based on the install.sh script):
Ubuntu 22.04 LTS
Ubuntu 24.04 LTS
Ubuntu 25.04 (and likely newer versions)
The instructions below assume that you use the default desktop and the bash shell. If you use another desktop environment or shell, you may need to adjust the instructions accordingly.
Installing the Prerequisite Packages
Before starting the installation, it’s a good practice to refresh the database of available packages. Type in the terminal:
$ sudo apt update
To install the required packages, ensure you are in the root directory of your OMNeT++ download. The following commands will install the necessary dependencies.
First, install the core development tools and libraries:
$ sudo apt install -y make diffutils pkg-config ccache clang lld gdb lldb \
    bison flex perl sed gawk python3 python3-pip python3-venv python3-dev \
    libxml2-dev zlib1g-dev doxygen graphviz xdg-utils libdw-dev
Next, install packages for the graphical environment (Qtenv and IDE). If you do not need
GUI support (e.g., for a server installation), you can skip this step and later configure
OMNeT++ with WITH_QTENV=no and WITH_OSG=no.
$ sudo apt install -y qt6-base-dev qt6-base-dev-tools qmake6 libqt6svg6 \
    qt6-wayland libwebkit2gtk-4.1-0
For 3D visualization support in Qtenv, install the OpenSceneGraph development package. If you
do not need 3D support, you can skip this step and later configure OMNeT++ with WITH_OSG=no.
$ sudo apt install -y libopenscenegraph-dev
After installing system packages, it’s good practice to clean the local repository of retrieved package files:
$ sudo apt clean
Next, set up a Python virtual environment for OMNeT++. In the root directory of your OMNeT++ download:
$ python3 -m venv .venv --upgrade-deps --clear --prompt "omnetpp/.venv"
$ source .venv/bin/activate
Then, install the required Python packages into the virtual environment:
$ python3 -m pip install -r python/requirements.txt
Note
The commands above install Clang as the C++ compiler and LLD as the linker. If you prefer to use GCC and the system’s default linker, you can adjust the package list accordingly (e.g., replace clang with g++ and omit lld) and set the PREFER_CLANG=no and PREFER_LLD=no options in the configure.user file or during the ./configure step.
If you skip the GUI or 3D packages, remember to disable the corresponding features (WITH_QTENV=no, WITH_OSG=no) in configure.user or during the ./configure step.
To enable the optional parallel simulation support you will need to install the MPI packages:
$ sudo apt-get install mpi-default-dev
At the confirmation questions (Do you want to continue? [Y/N]), answer Y.
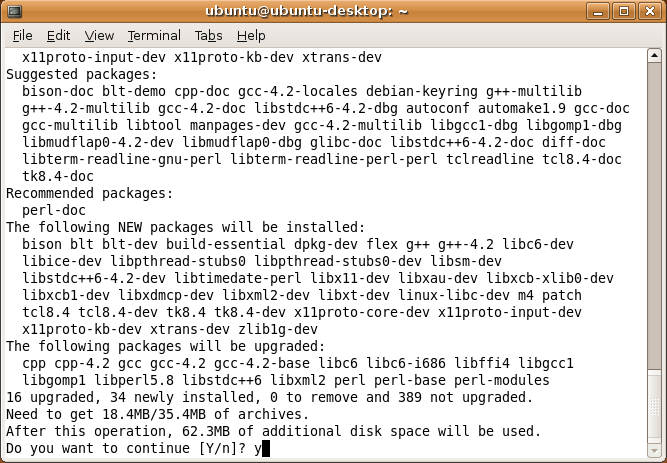
Fig. 5 Command-Line Package Installation
Post-Installation Steps
Setting Up Debugging
By default, Ubuntu does not allow ptracing of non-child processes by non-root users. That is, if you want to be able to
debug simulation processes by attaching to them with a debugger, or similar, you want to be able to use OMNeT++
just-in-time debugging (debugger-attach-on-startup and debugger-attach-on-error configuration options), you need
to explicitly enable them.
To temporarily allow ptracing non-child processes, enter the following command:
$ echo 0 | sudo tee /proc/sys/kernel/yama/ptrace_scope
To permanently allow it, edit /etc/sysctl.d/10-ptrace.conf and change the line:
kernel.yama.ptrace_scope = 1
to read
kernel.yama.ptrace_scope = 0